Now that I have my A-Pillar and upper door opening sufficiently strengthened with a “slug” inside of the metal cavity, we have to make these monstrosities look good cosmetically. As you can see in the first picture, there are a lot of body lines in the A-Pillar and none of them lined up when the roof came down. The windshield had a taper in pretty much every direction. This makes for a real headache if you don’t go into this with a plan, so as always I like to sketch out my method of attack. You can see in the diagram what we have going on.


A) We begin with a tall “double pyramid” this represents the pillar and the compound body-line. The dotted line is the section we are removing to lower the roof.
B) We can see that the pillar does not line up in any direction, we cannot solve this with any single adjustment or re-alignment; we need to adjust everything a little to make this work correctly.
C) The solution: we cut a vertical slice along the entire width of the pillar. We then widen the upper half by spreading the sliced area wider. At the same time we begin to clamp the lower portion, squeezing the slice shut. Essentially we are averaging out the distances to re-align.
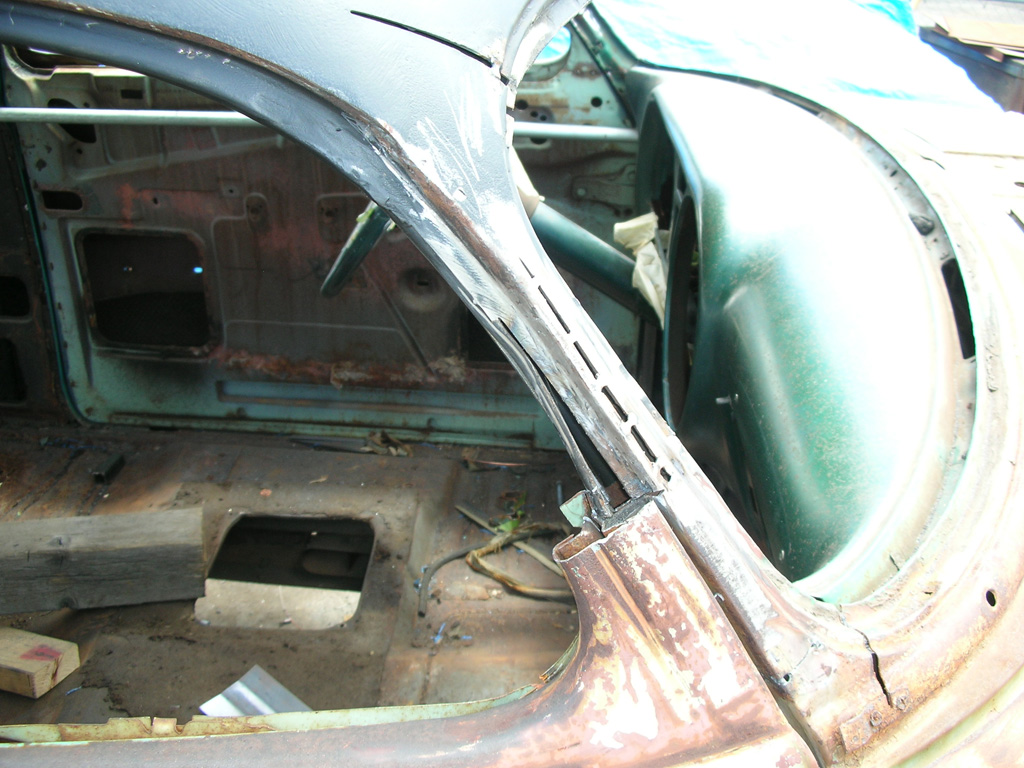
You can see after many hours of tedious slicing, adjusting and welding, the finished product (it looks much nicer all in one color), this process needs to be repeated on both of the A-Pillars but not the B-Pillar on a Pontiac such as this one. In 1953 the Pontiacs had nice straight and parallel B-Pillars (Thank you Harley Earl). Other vehicles may require adjustments like this to the B-Pillar though.
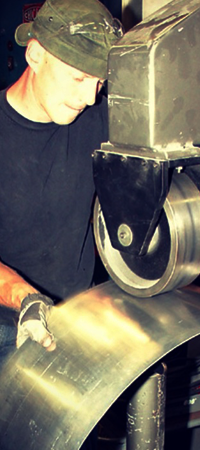
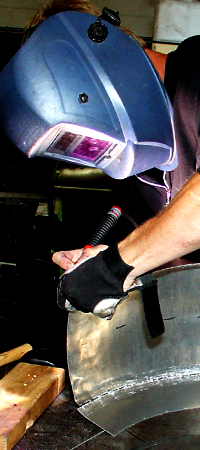
***Update: I found and added 2 photos of the spreading process for the A-Pillars, they are in a rough spot with much smoothing required but you can get a better idea of the process.