Blending an original 50’s frame with modern suspension for a low ride height, while maintaining safety and performance – all on a budget!
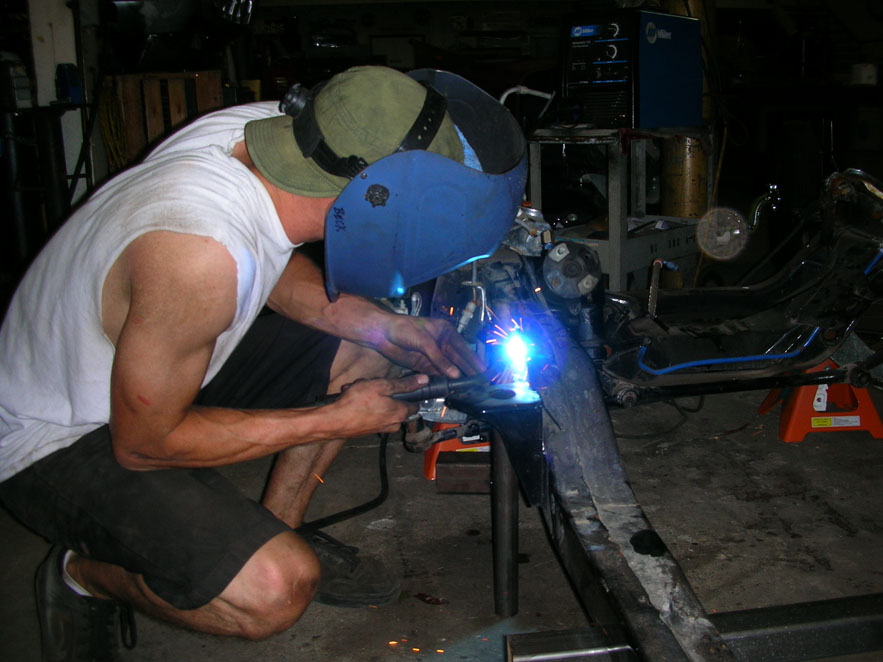
Welding “Legs” on the front clip to keep at ride height and stationary.
When building any car from the 50’s the first thing you notice is the ride height, these things had the road clearance of a modern day 4×4 and if you could only solve that issue, you’d be off to the races. There is enough room to do silly (dangerous) things like chop the springs and get the car lower, but the suspension wouldn’t work properly at all. You could use drop spindles but that would only reduce the ground clearance by an inch or two at the most.
Key Point: Suspension does not lower a car – FRAMES lower a car.
To look right, these old ‘sleds need to come down 5” or more. If you decide to modify the original frame, don’t forget that all of the suspension and brake components are rare, expensive and poorly designed. I prefer to use more modern components, so you can get brake pads and rotors at any auto parts store.
The Plan: Build a Z’d frame based on the original design, utilizing 7” airbags and a first generation Camaro front suspension and steering components.
Things you need to move forward:
- Wheels and tires that will ultimately be used, the entire frame is built around this
- Airbags or springs that will be used (doesn’t matter which really, frame is built the same)
- Donor front clip
- Original frame, preferably with the body removed.
- A very flat and level area of floor, with plenty of room to work., This will be the “frame table”
-
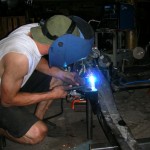
- Welding “Legs” on the front clip to keep at ride height and stationary.
-
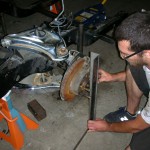
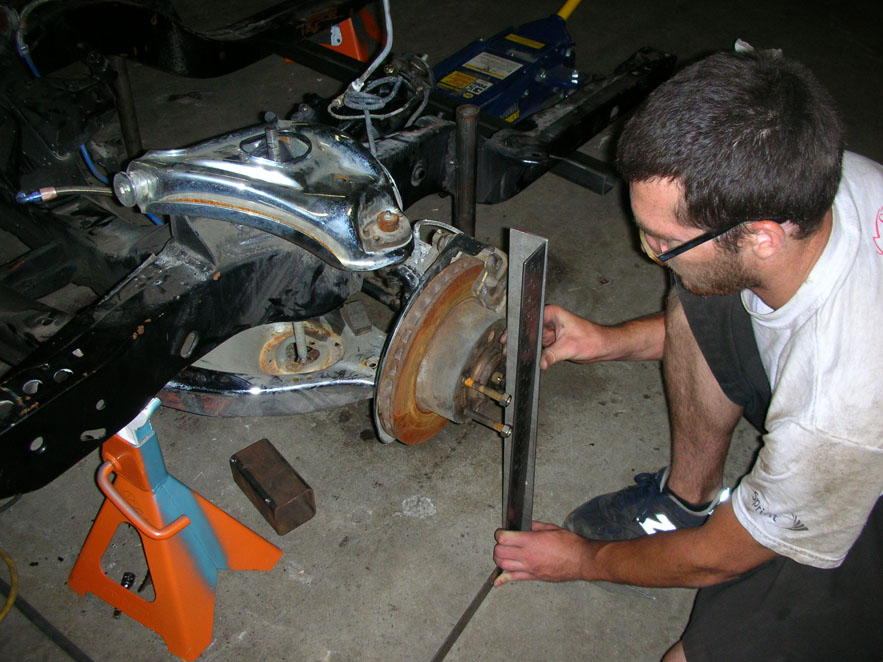
- Checking the suspension is level and in the center of travel.
-
- Welding blocks to the bottom of the frame to keep it at ride height and level.
-
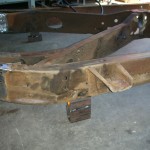
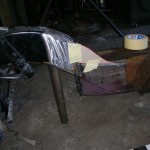
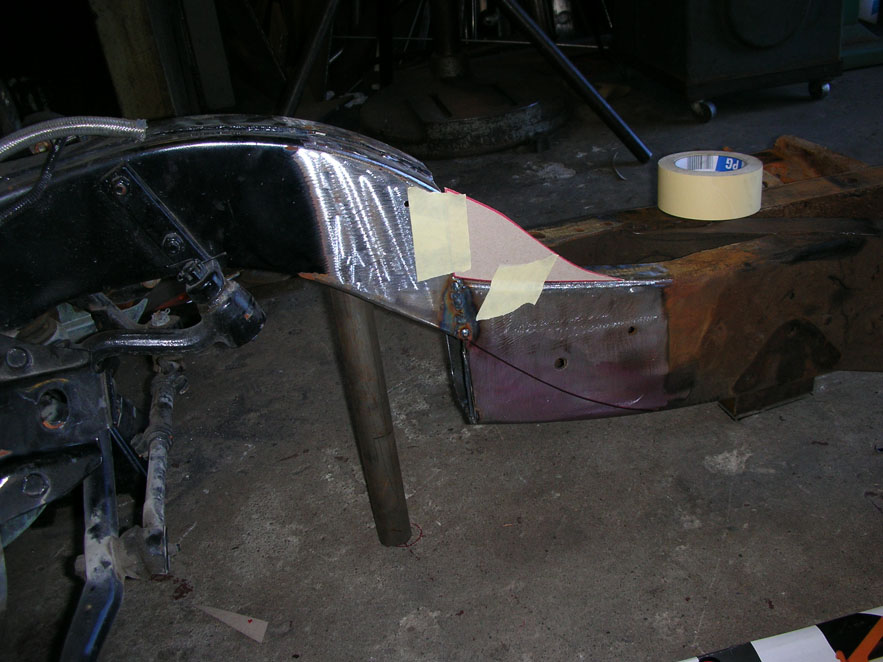
- Cut line / blend line on the original 1953 Pontiac Frame

-
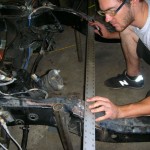
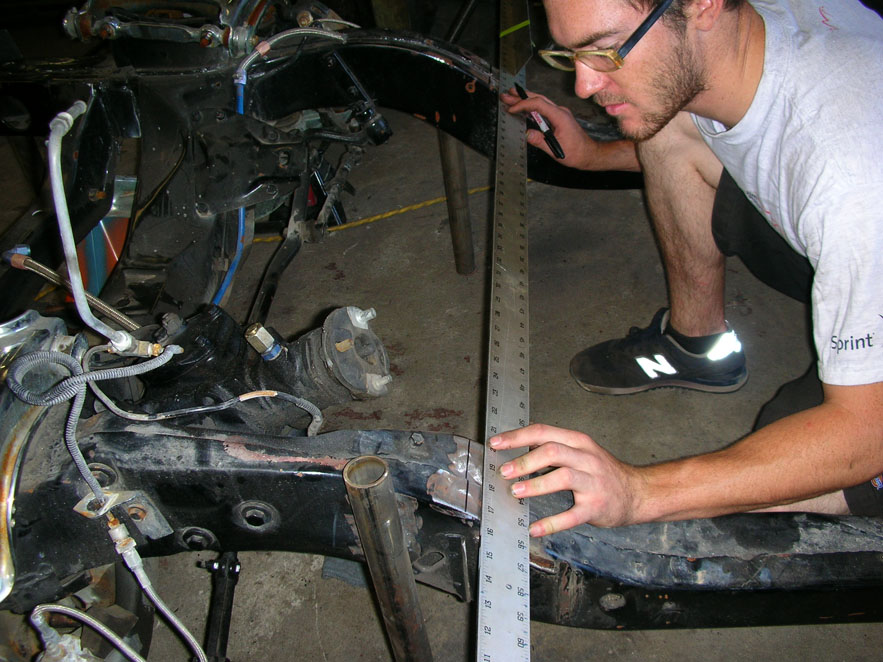
- Measuring the cut line / blend line on the donor front clip.
-

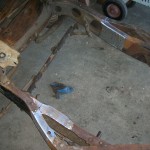
- Original frame separated from suspension.

-
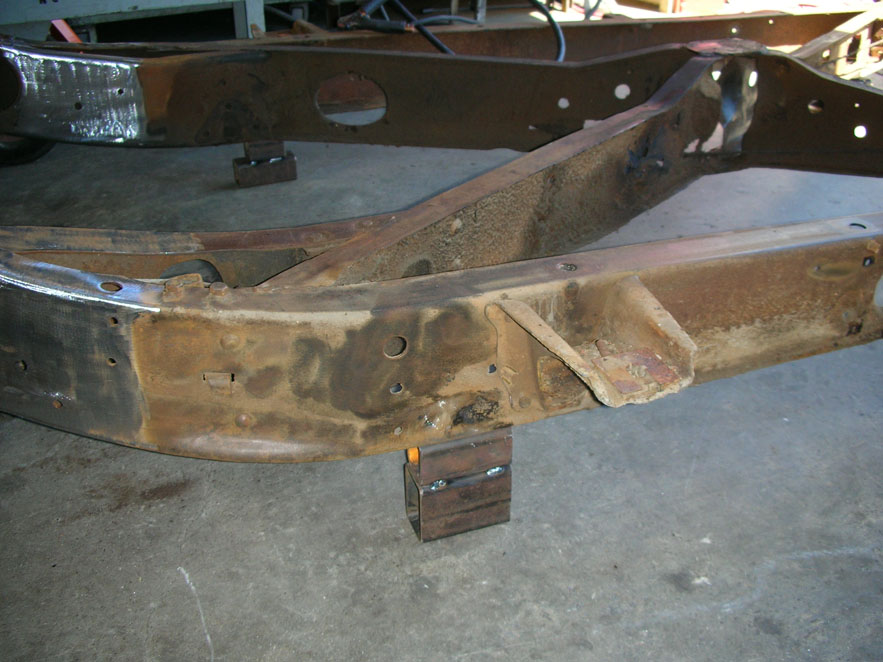
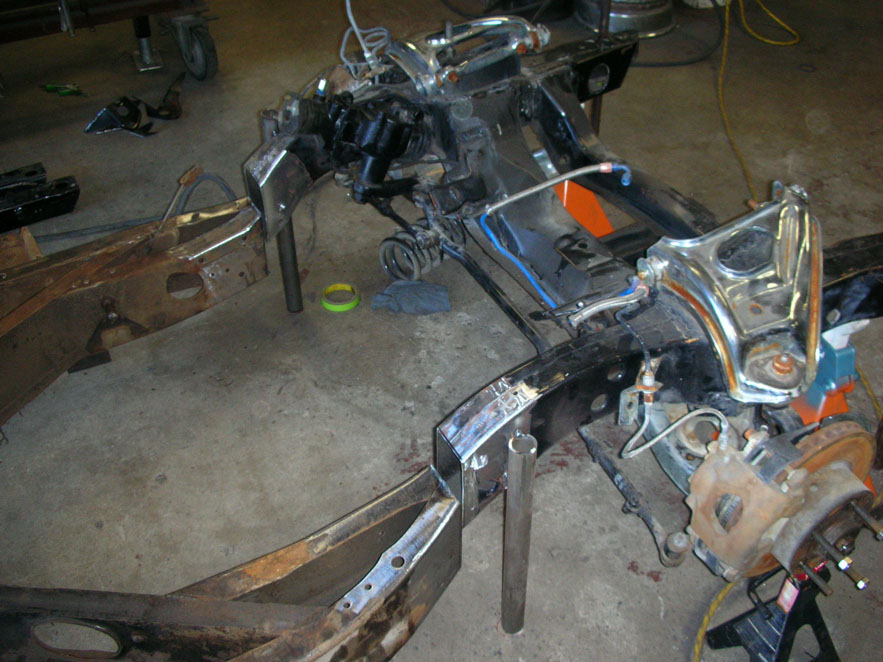
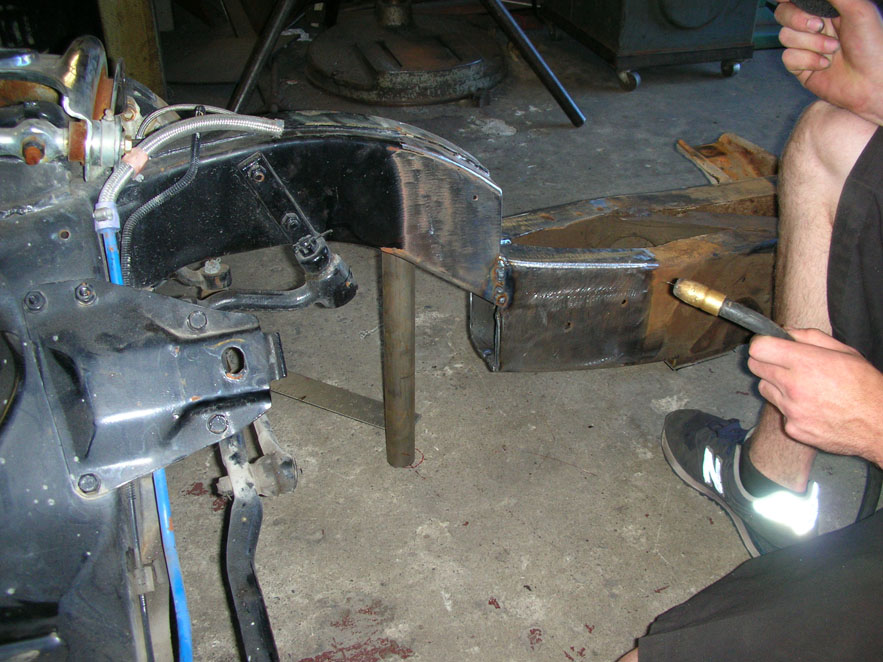
- Frame meeting the front clip for the first time – significan blending to be done.
-
- Frame tacked to the suspension clip to begin blending and reinforcing.
-
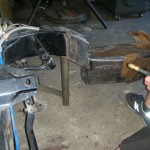
- Cuts and additions to properly blend the two frames.
-
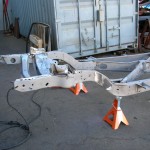
- Finished product: Custom “Z’d” Frame for a 1953 Pontiac Chieftain


The process:
- With wheels installed on the donor front clip, fix the suspension (with blocks or whatever you have) at the center of suspension travel. This is ride height for the front clip and will ensure you have plenty of travel when you hit bumps.
- Remove the wheels and lock the front clip in place by welding on “legs” to keep it stationary and level.
- Set the frame at ride height (vertically). I welded little blocks to the bottom of the frame, making sure the top of the frame was level (not the bottom – it was built on a taper). This will set the height of the body in relation to the frame, which actually makes the car l low. Again, suspension does not lower a car – FRAMES lower a car.
- Front/rear positioning – Now that the vertical positions have been set, get several measurements from key points on the frame to the center of the wheel. I like to use holes in the frame as reference and I measure to the trailing edge of the spindle nut on the front suspension. This will determine where the new suspension position in relation to the frame.
- Select cutting points – Since the frames will overlap by 4-6 feet, the exact position to cut the frame is very subjective, we will call this the “blend line”. This is where the job becomes at Art as opposed to a Science. I selected places where \no key components mounted to either the suspension clip or the original frame.
- Cut the frame off at the blend line.
- Cut the suspension off at the blend line.
- Bring the suspension to the frame and re-check every measurement for proper position.
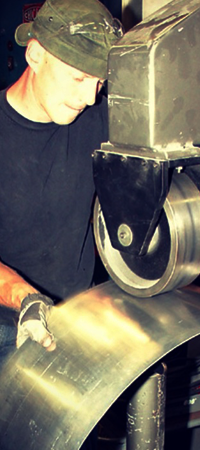
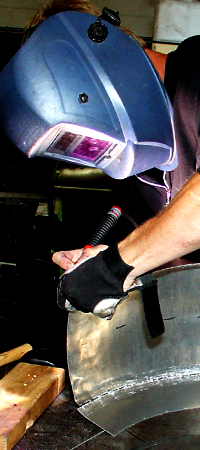
- In this case there was significant blending and reinforcing to be done at the blend line, I prefer frames to have a nice flow and to be heavily reinforced. I tacked the frame to the front clip in spots where it overlapped, just to hold it in place. It can never be too strong, I used 3/16 plate to build my blend area. I welded this HOT with a 220 mig welder, plug welding and lap welding the reinforcement plates.
Looking for a Custom Car Builder in the Midwest?
If you have questions, ideas or would like a quote for a custom frame, building or chopping your own car please feel free to email me any time with the contact form on the sidebar. I will gladly quote full builds or complex one-off parts to assist you in your build. I’m here to help, so lets go!


