For the B -Pillars we are continuing the process of strengthening and blending the area where we have removed material. The B-Pillar is tough because it is very easy to visually gauge if it is “off” or “crooked”. The process is simple enough, if care is taken and the steps are not rushed. If you goof this one up though, every schmuck at the next cruise-night will be sure to point it out for you in case you missed it. Make sure you have a good spot where you stand back to determine how parallel everything is.
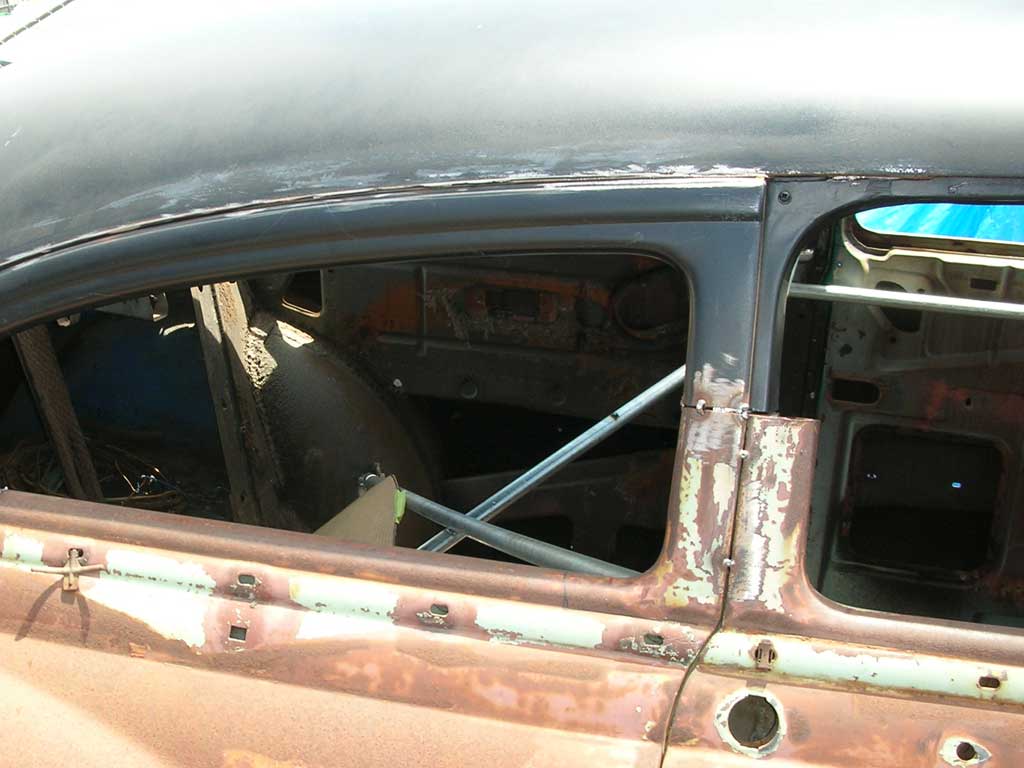

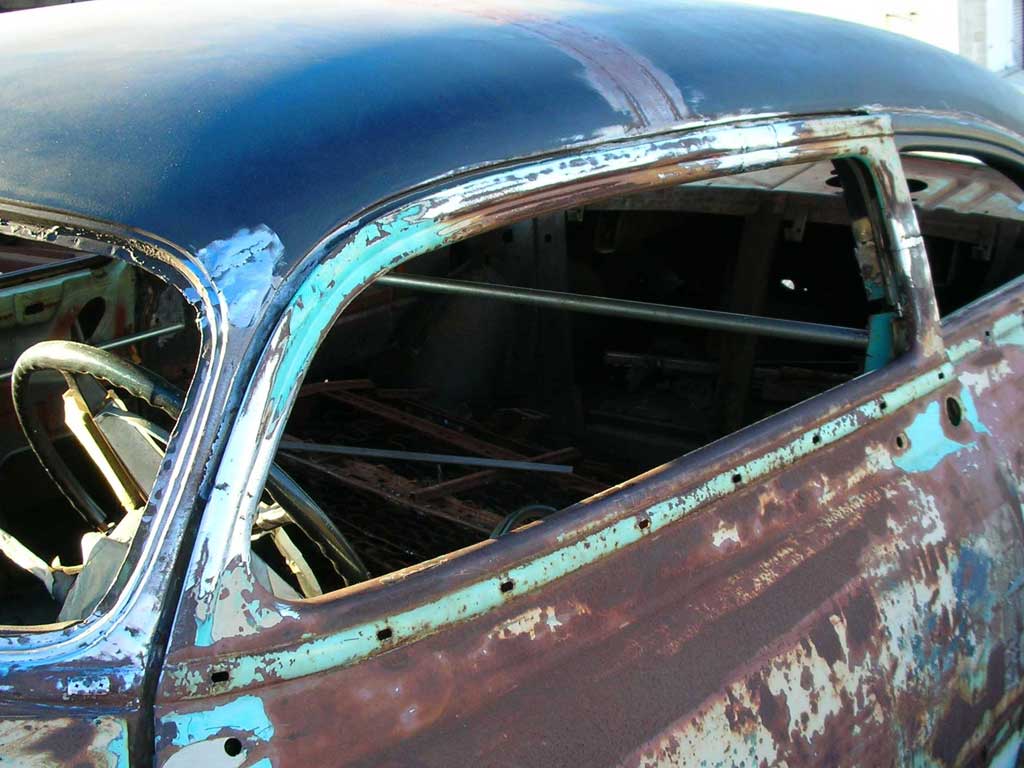
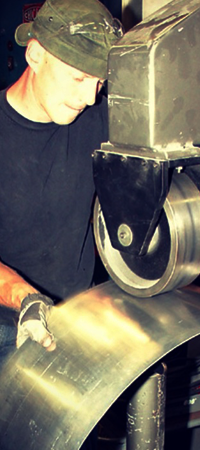
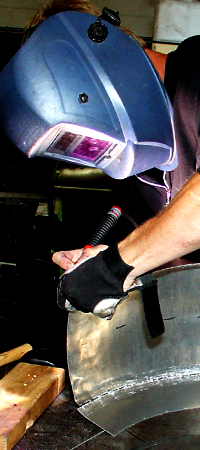
As with the A Pillars and upper roof structure, I am adding a “slug” in this case, a piece of 1” square tube fit great and is a nice straight piece of material to use as reference (see second photo in gallery). The trick to the B-Pillar is tacking as many parts as you can before they are final welded. For each pillar there are 2 halves, a half attached to the door and a half attached to the car, each of these will have a welded seam which can drastically change the appearance of the pillar. As much of this as you can manipulate and adjust before all of the parts are all welded solid, the better your results will be. Once you have your “slug” and everything is tacked, you can begin to weld; making sure to go VERY SLOW! Welding any part of this HOT will cause the entire door to warp and ruin the nice gaps you have worked so hard for. Take your time on this; it’s about accuracy NOT SPEED!
If you have questions, ideas or would like a quote for building or chopping your own car please feel free to email me any time with the contact form on the sidebar. I will gladly quote full builds or complex one-off parts to assist you in your build.