Finally, I am prepared to attach and blend the final rear section of the roof known as the “C” Pillar or “Sail Panel” as it is sometimes called. The position of the roof has been dictated by the chop on the A and B Pillars. As I had mentioned previously, the rear glass has been smashed out so the options for the rear window are wide open. Major hurdles ahead for this; including, creation of a strong attachment point, repairing the large rust damage at the trim line and finally creating the compound shape of the window opening.

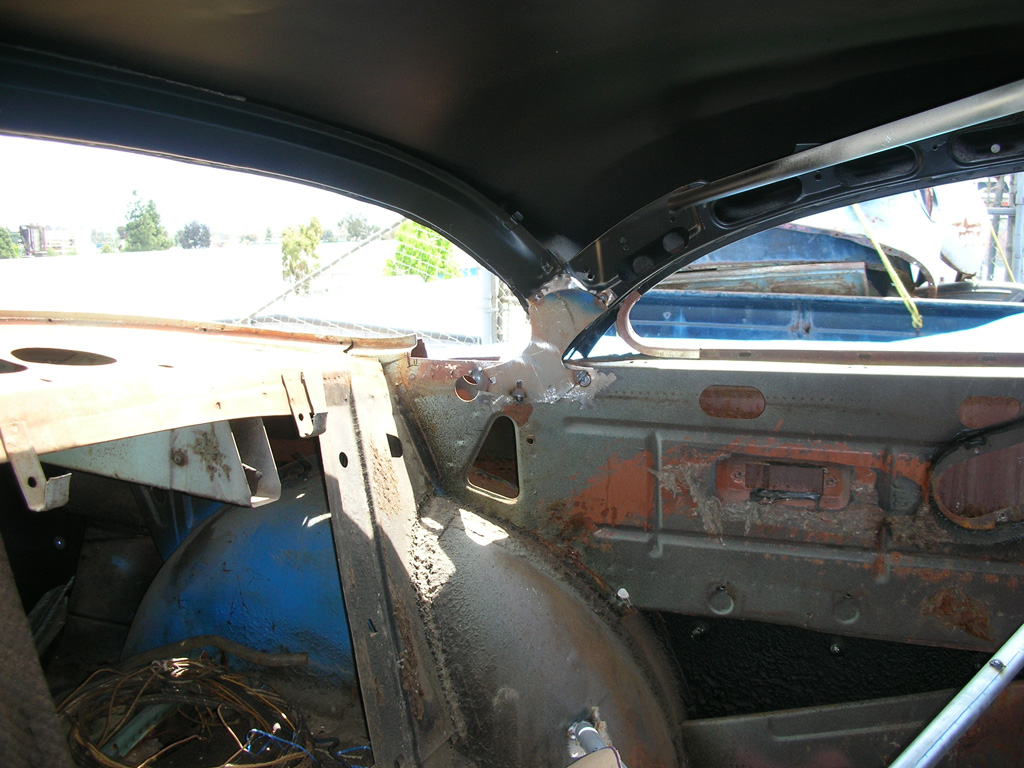


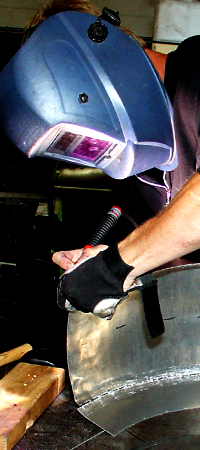
First, since I don’t know how quickly I will have an interior in the vehicle, I want to create an attractive and strong plate to attach the inner roof structure to the inner body structure. This could have been done one of a thousand different ways, all of which work just fine. My good buddy, Andy Carter (now of Pangea Speed), sketched out the plates seen in the first 2 pics, cut them from 1/8” steel plate and welded them on. He used a lot of “plug welds”, which is drilling a large hole and filling it with weld, while making sure to securely attach to the substrate (the car). This is the strongest weld in many cases, and cleans up nicely. As always, Andy did a great job.
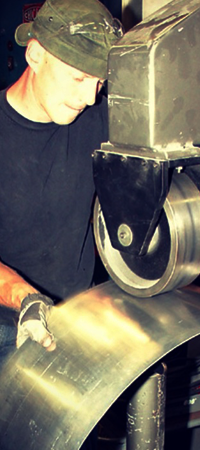
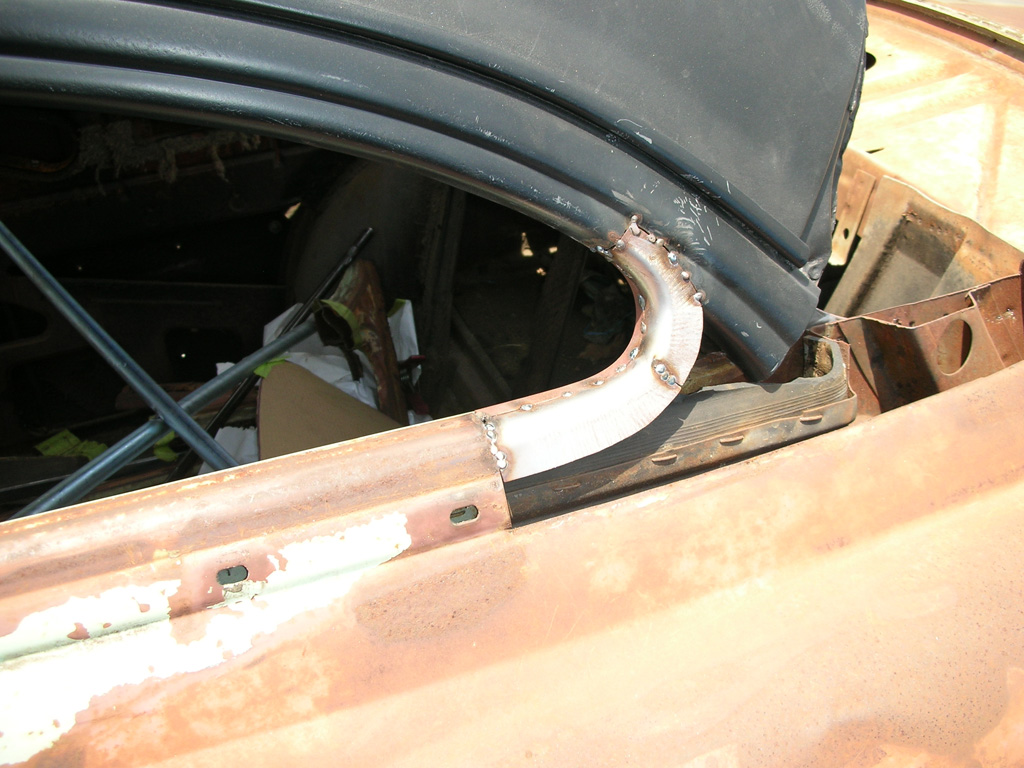
Next, I will be tackling the rust repair on the body line. I will accomplish this by forming a flat piece of steel sheet-metal into a similar curved shape as the one on the car. I made this on a pull-max with a custom die for a ’32 ford wheel arch. I have made these though many other ways without a pullmax, they just come out much faster with cool tools. With the piece rough-shaped, I now have to create the curvature to match the body; this is done with the good ole shrinker/stretcher. This needs to take on a mild “banana” shape, so I will have to shrink on the inside of the curve and stretch on the outside. This part takes a little practice, the shrinker and stretcher can give you endless possibilities once you get the hang of it. When it is shaped, I weld in place and move on.
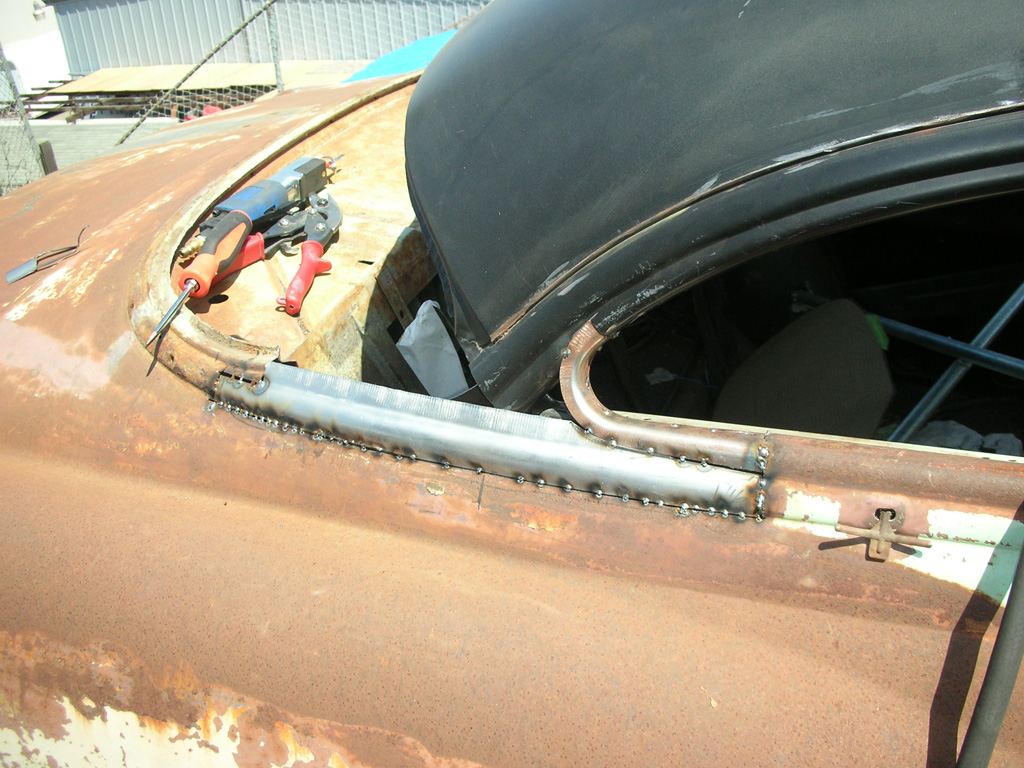
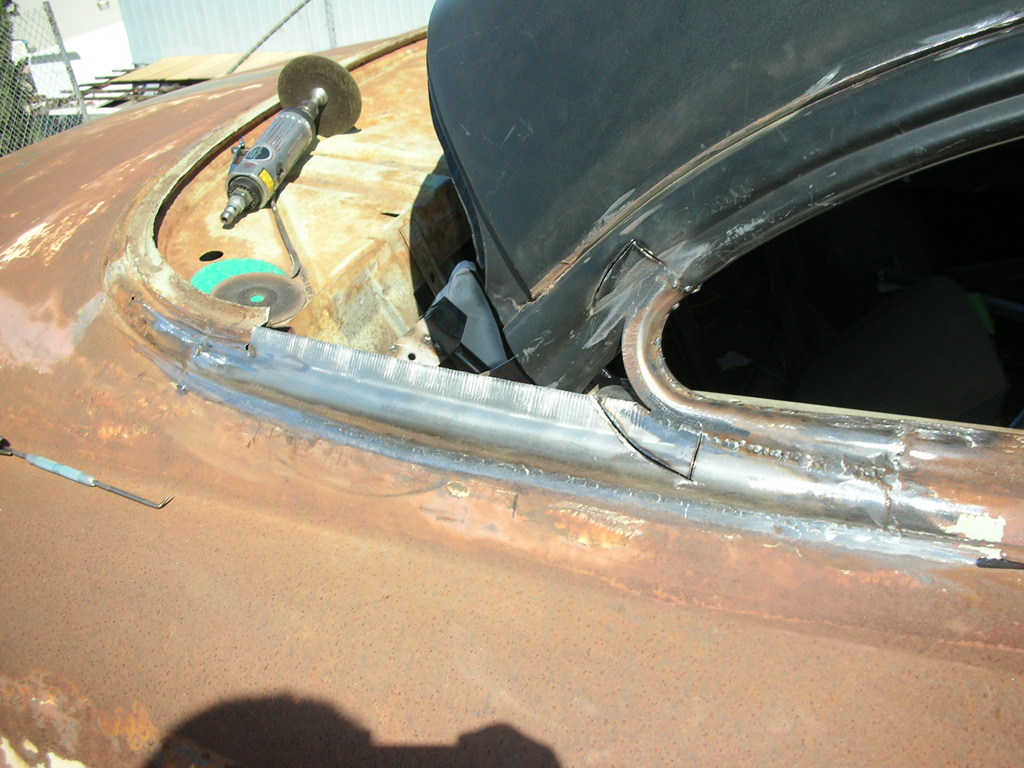
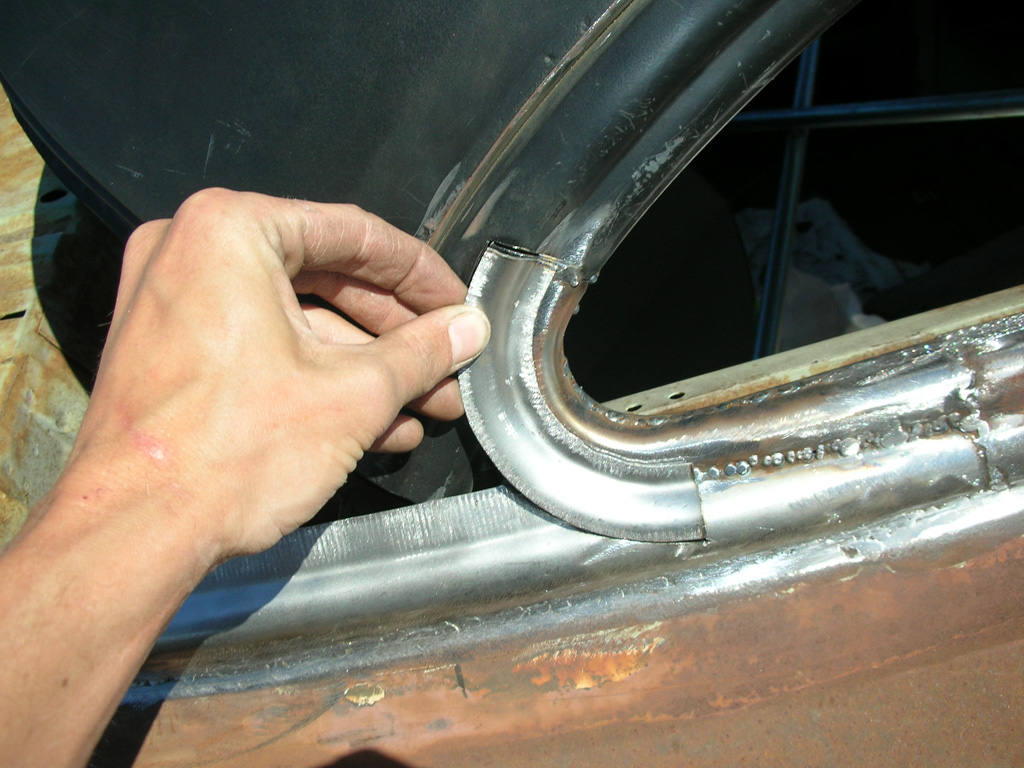
Finally, for blending the window opening I will start by making templates of the other window corners. I want to match their corner radius as closely as possible. I create a template with my 2” corner shape and do most of my shaping at the work bench; I have about 12 individual pieces to make so it’s best to find a comfortable place to work. As you can see from the photos this is one of the most tedious parts of the entire chop, it is also one of the most prominent so I don’t want to screw it up. I create 2” wide strips of 20 gauge steel and hammer them over a pipe, creating a quarter-round shape with about 1” of flat steel hanging off, this gives me a good place for the shrinker/stretcher to grab onto, you need to always have extra material when forming metal. I shape these “quarter rounds” with the shrinker and stretcher for all of the components, tacking and adjusting as I go. This is mostly cosmetic, but it is also a major part of the structure tying the body to the roof. Each side is made of approximately 6 parts, all individually shaped, welded and ground smooth. This one is tough, its all patience though, the trick is to systematically work through each piece and leave enough “wiggle room” to adjust as you go.
Time Involved: 30 hours
Complexity (1 easy – 10 radical): 8 – pretty involved
If you have questions, ideas or would like a quote for building or chopping your own car please feel free to email me any time with the contact form on the sidebar. I will gladly quote full builds or complex one-off parts to assist you in your build.