TIG / Hammer Welding the Roof Seam
With the roof filler piece tacked into place I have two main goals: 1) make the roof structure secure and safe and 2) make the seam as “seamless” as possible.
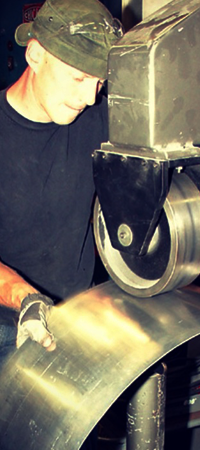
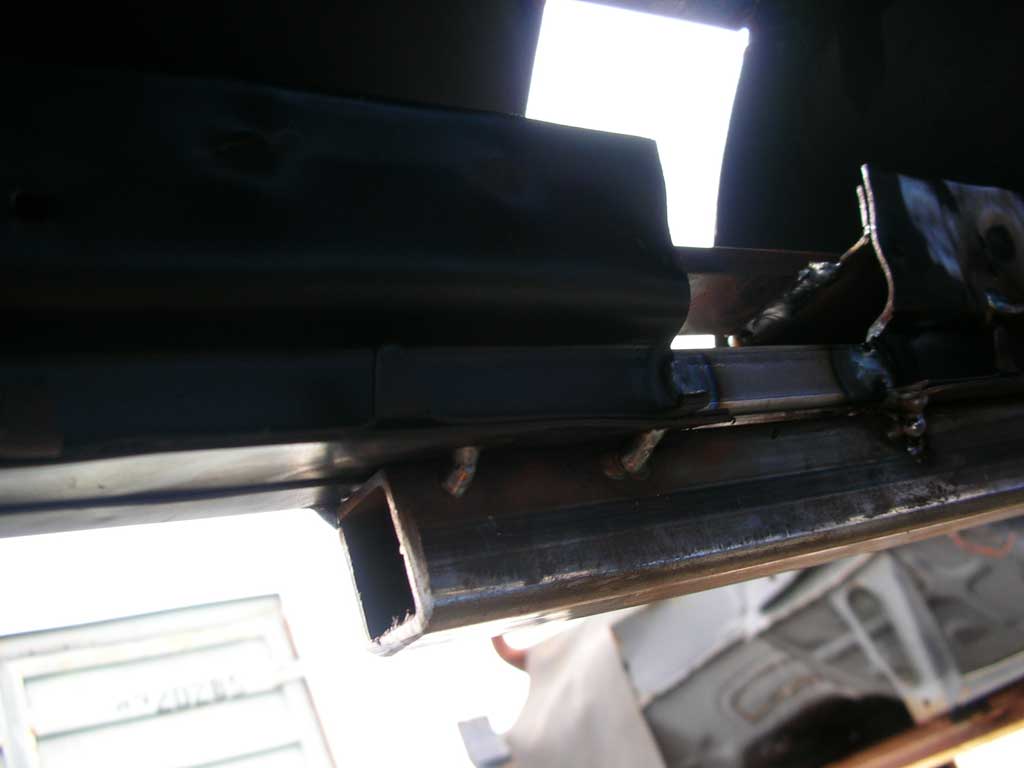
First: Safety. Welding a roof back onto a car after cutting it off is a sketchy proposition; the last thing you want to happen is to have the top blow off while you’re headed down Rt. 66 at 75 mph. Even if every piece is welded tight we still will be dressing (grinding) the welds smooth which greatly reduces the weld integrity. The solution to this is adding a “slug” on the inside of every structural connection. As you can see in the first two pictures I have my bar/tube welded to the bottom of the structure. Before I can remove this I need to put material on the inside of the channel and weld it HOT. You want this to be secure, so don’t be stingy with the weld, just make sure to keep the adjacent areas from getting too warm. I will do similar “slugs inside of the “A-pillars”, “B-pillars” and anyplace else where I want added strength. Once the slugs are complete I can remove the external bar/tube.


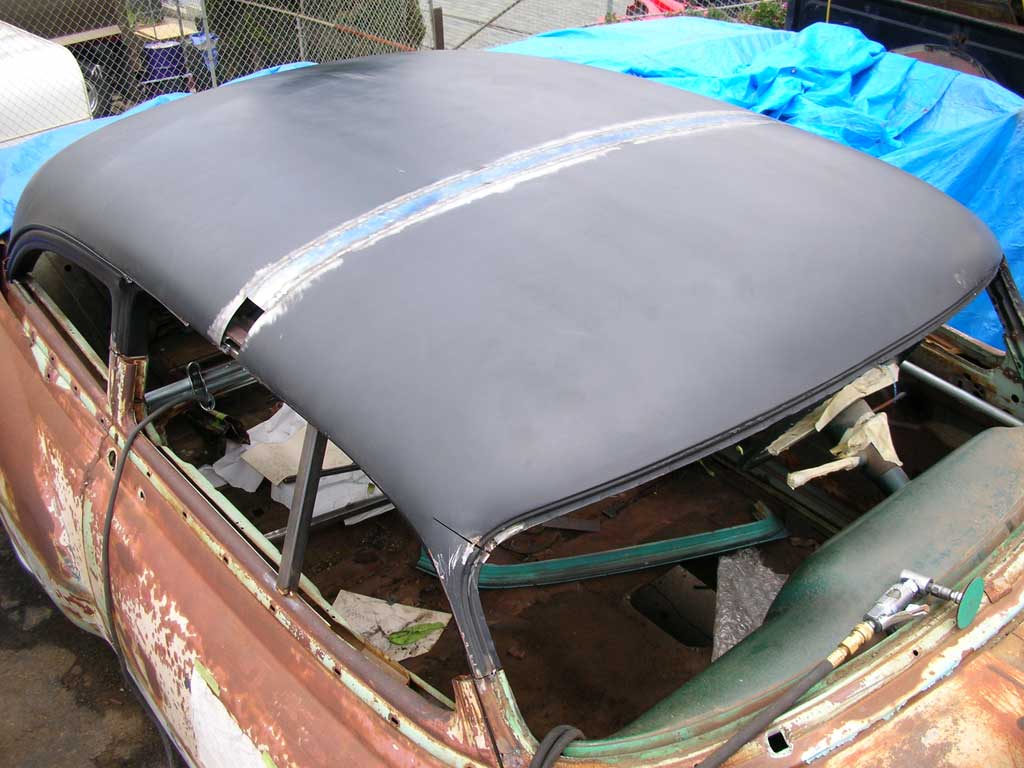
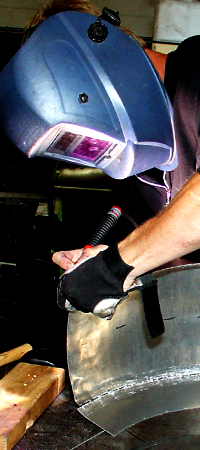
Next, for the “seamless” weld: I will TIG the entire seam and hammer each weld. This is a modernized version of the old “hammer welding” with an acetylene torch. The TIG is much more precise and the heat-affected zone is a fraction of what you would get with an acetylene torch. I attach and position the filler piece with a tiny tack every 2”-4”, no hammer required for this unless something starts to move. Once the filler is secure I will weld in 1” beads, making sure to skip all over the roof. You don’t want any weld to be right next to your previous one, taking care here will save you a lot of work smoothing later. For each 1” weld, I immediately place the “toe” dollie (see photo) on top and take about 4 to 6 firm hammer strikes to the metal from below. Hammering the TIG weld accomplishes several things; 1) The weld naturally wants to sink, so this forces the seam into the correct position. 2) By hammering the red-hot weld we are stretching the metal that was trying to shrink from the heat, this makes the seam stronger. 3) By hammering the weld we are also smashing the thickness, after a few strikes it’s so smooth that very little grinding is necessary. 4) We have helped the weld to cool more quickly by using the steel dollie as a heat-sink so we can actually weld faster. These are all pluses, the only downside is your arm/elbow will feel like you just swung a hammer 1000 times…which you did.
Looking for a Custom Car Builder in the Midwest?
If you have questions, ideas or would like a quote for building or chopping your own car please feel free to email me any time with the contact form on the sidebar. I will gladly quote full builds or complex one-off parts to assist you in your build. I’m here to help, so lets go!